2019-02-26 01:18:21 +08:00
---
title: "Use Vim as a Ruby IDE"
categories: [tutorials, blog]
image: https://user-images.githubusercontent.com/13142418/53355518-20202080-3964-11e9-92f3-476060f2761e.png
2020-05-10 14:05:04 +08:00
description: "A general guide for using SpaceVim as Ruby IDE, including layer configuration, requiems installation and usage."
2020-05-17 14:08:03 +08:00
type: article
2019-02-26 01:18:21 +08:00
comments: true
commentsID: "Use Vim as a Ruby IDE"
---
# [Blogs](../blog/) >> Use Vim as a Ruby IDE
This is a general guide for using SpaceVim as a Ruby IDE, including layer configuration and usage.
Each of the following sections will be covered:
<!-- vim - markdown - toc GFM -->
- [Enable language layer ](#enable-language-layer )
- [Code completion ](#code-completion )
- [Syntax linting ](#syntax-linting )
- [Jump to test file ](#jump-to-test-file )
- [running code ](#running-code )
- [Code formatting ](#code-formatting )
- [REPL support ](#repl-support )
<!-- vim - markdown - toc -->
### Enable language layer
To add Ruby language support in SpaceVim, you need to enable the `lang#ruby` layer. Press `SPC f v d` to open
SpaceVim configuration file, and add the following snippet:
```toml
[[layers]]
name = "lang#ruby"
```
For more info, you can read the [lang#ruby ](../layers/lang/ruby/ ) layer documentation.
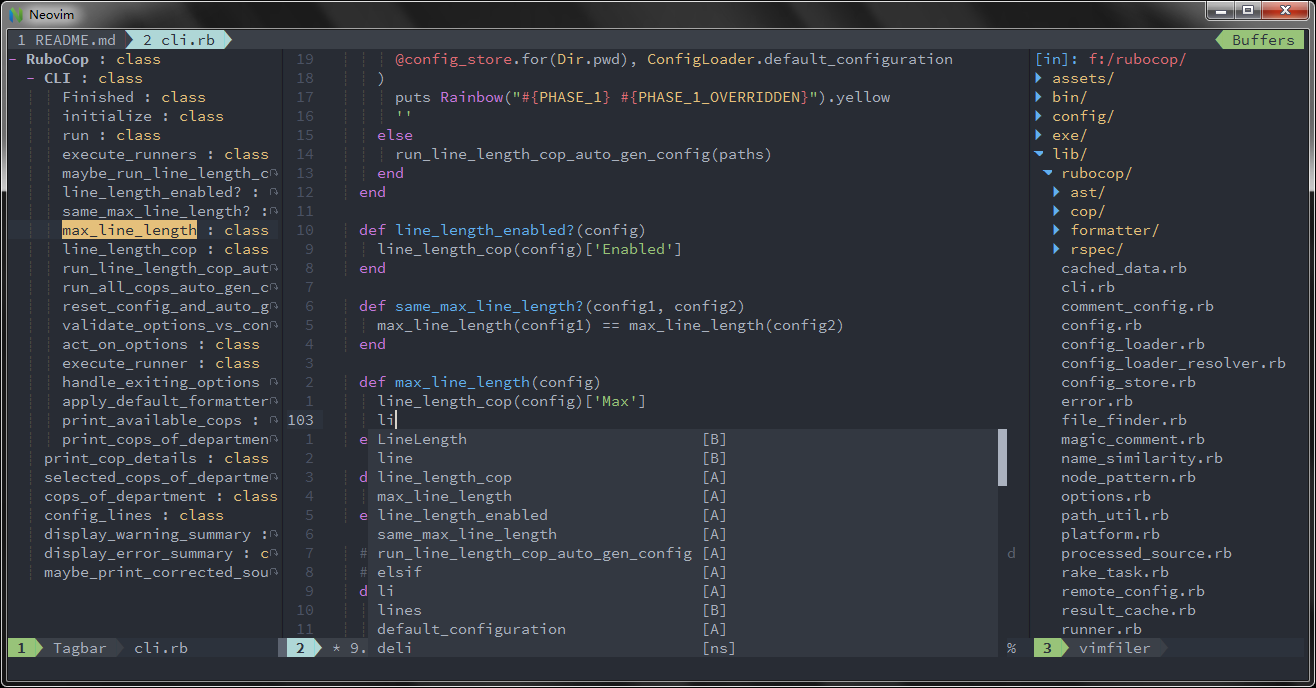
### Code completion
`lang#ruby` layer will load the Ruby plugin automatically, unless it's overriden in your `init.toml` .
The completion menu will be opened as you type.
2019-02-26 01:21:23 +08:00
2019-02-26 01:18:21 +08:00
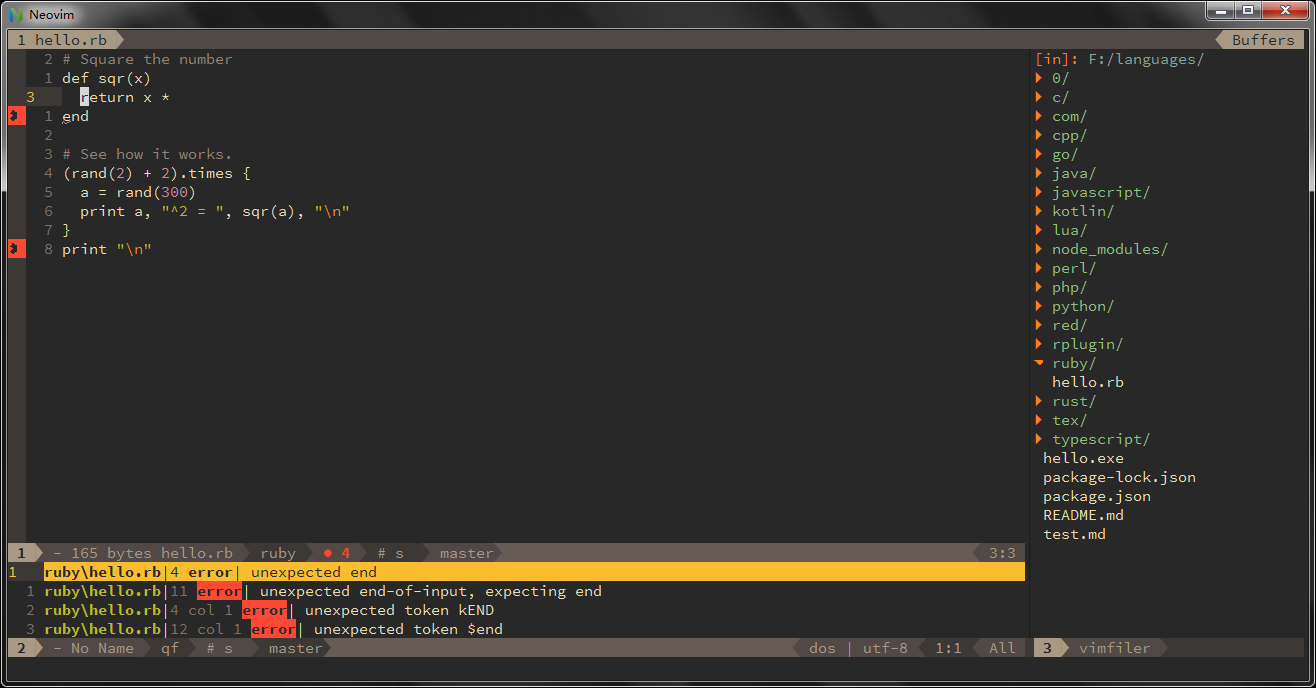
### Syntax linting
The checkers layer is enabled by default. This layer provides asynchronous syntax linting via [neomake ](https://github.com/neomake/neomake ).
It will run rubocop asynchronously.
Install rubocop via gem:
```sh
gem install rubocop
```
### Jump to test file
SpaceVim use built-in plugin to manager the files in a project, you can add a `.project_alt.json` to the root of your project with the following content:
```json
{
"src/*.rb": {"alternate": "test/{}.rb"},
"test/*.rb": {"alternate": "src/{}.rb"}
}
```
With this configuration, you can jump between the source code and test file via command `:A`
### running code
To run current script, you can press `SPC l r` , and a split window
will be openen, the output of the script will be shown in this window.
It is running asynchronously, and will not block your Vim.
### Code formatting
The format layer is also enabled by default. With this layer you can use key binding `SPC b f` to format current buffer.
Before using this feature, please install rufo:
```sh
gem install rufo
```
### REPL support
Start a `irb` inferior REPL process with `SPC l s i` . After the REPL process being started, you can
send code to inferior process. All key bindings prefix with `SPC l s` , including sending line, sending selection or even
send whole buffer.