mirror of
https://github.com/SpaceVim/SpaceVim.git
synced 2025-01-28 01:10:05 +08:00
103 lines
3.5 KiB
Markdown
103 lines
3.5 KiB
Markdown
---
|
|
title: "Use Vim as a Nim IDE"
|
|
categories: [tutorials, blog]
|
|
image: https://user-images.githubusercontent.com/13142418/102889616-f075cd00-4495-11eb-819f-1ff4721cbd69.png
|
|
description: "A general guide for using SpaceVim as Nim IDE, including layer configuration, requiems installation and usage."
|
|
type: article
|
|
comments: true
|
|
commentsID: "Use Vim as a Nim IDE"
|
|
---
|
|
|
|
# [Blogs](../blog/) >> Use Vim as a Nim IDE
|
|
|
|
This is a general guide for using SpaceVim as a Nim IDE, including layer configuration and usage.
|
|
Each of the following sections will be covered:
|
|
|
|

|
|
|
|
<!-- vim-markdown-toc GFM -->
|
|
|
|
- [Enable language layer](#enable-language-layer)
|
|
- [code completion](#code-completion)
|
|
- [alternate file jumping](#alternate-file-jumping)
|
|
- [code running](#code-running)
|
|
- [REPL support](#repl-support)
|
|
- [code format](#code-format)
|
|
- [Tasks manage](#tasks-manage)
|
|
|
|
<!-- vim-markdown-toc -->
|
|
|
|
### Enable language layer
|
|
|
|
`lang#nim` layer provides nim language specific features for SpaceVim.
|
|
This layer is not enabled by default. To write nim language,
|
|
you need to enable the `lang#nim` layer.
|
|
Press `SPC f v d` to open SpaceVim configuration file, and add following configuration:
|
|
|
|
```toml
|
|
[[layers]]
|
|
name = 'lang#nim'
|
|
```
|
|
|
|
for more info, you can read the [lang#nim](../layers/lang/nim/) layer documentation.
|
|
|
|
### code completion
|
|
|
|
By default the autocomplete layer has been enabled, so after loading `lang#nim` layer, the code completion
|
|
for nim language should work well.
|
|
|
|
|
|
### alternate file jumping
|
|
|
|
To manage the alternate file for a project, you may need to create a `.project_alt.json` file in the root of your
|
|
project.
|
|
|
|
for example, add following content into the `.project_alt.json` file:
|
|
|
|
```json
|
|
{
|
|
"src/*.nim": {"alternate": "test/{}.nim"},
|
|
"test/*.nim": {"alternate": "src/{}.nim"}
|
|
}
|
|
```
|
|
|
|
with this configuration, you can jump between the source code and test file via command `:A`
|
|
|
|
|
|
### code running
|
|
|
|
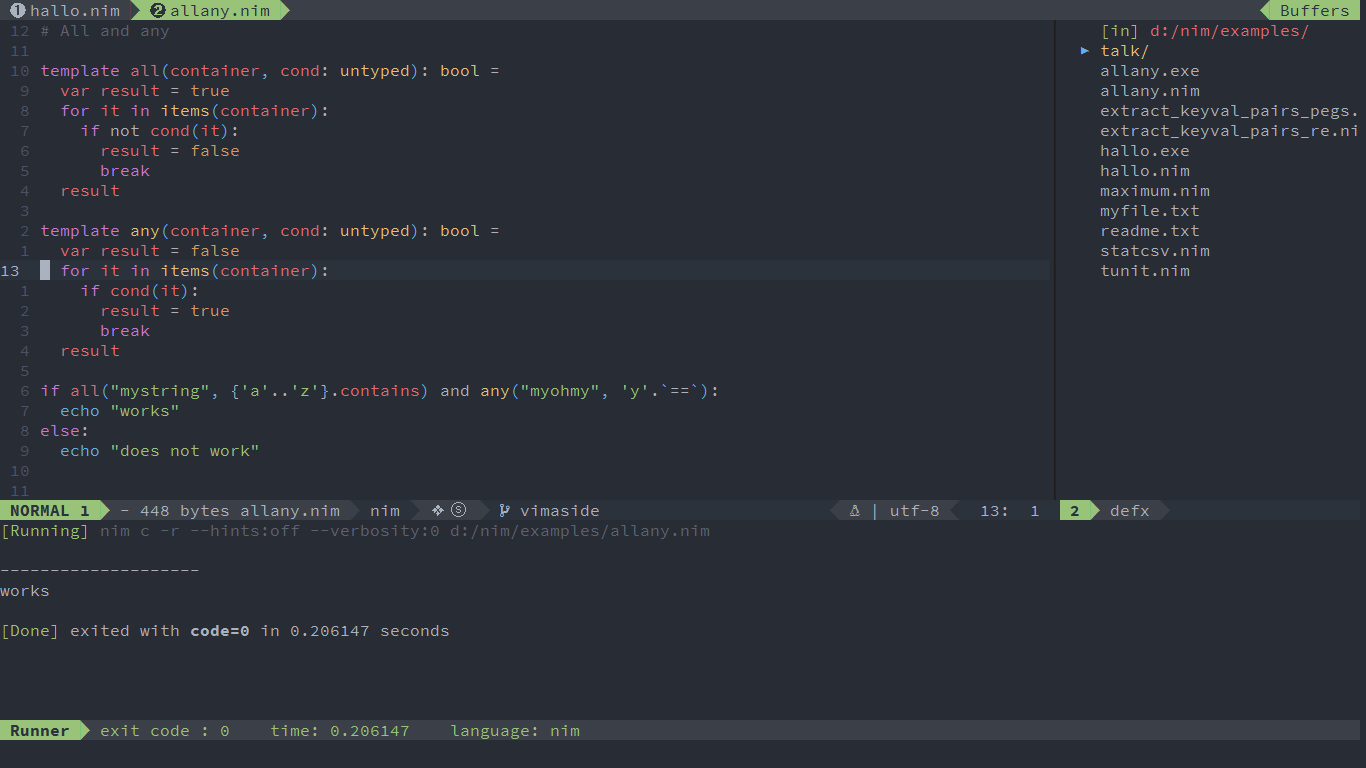
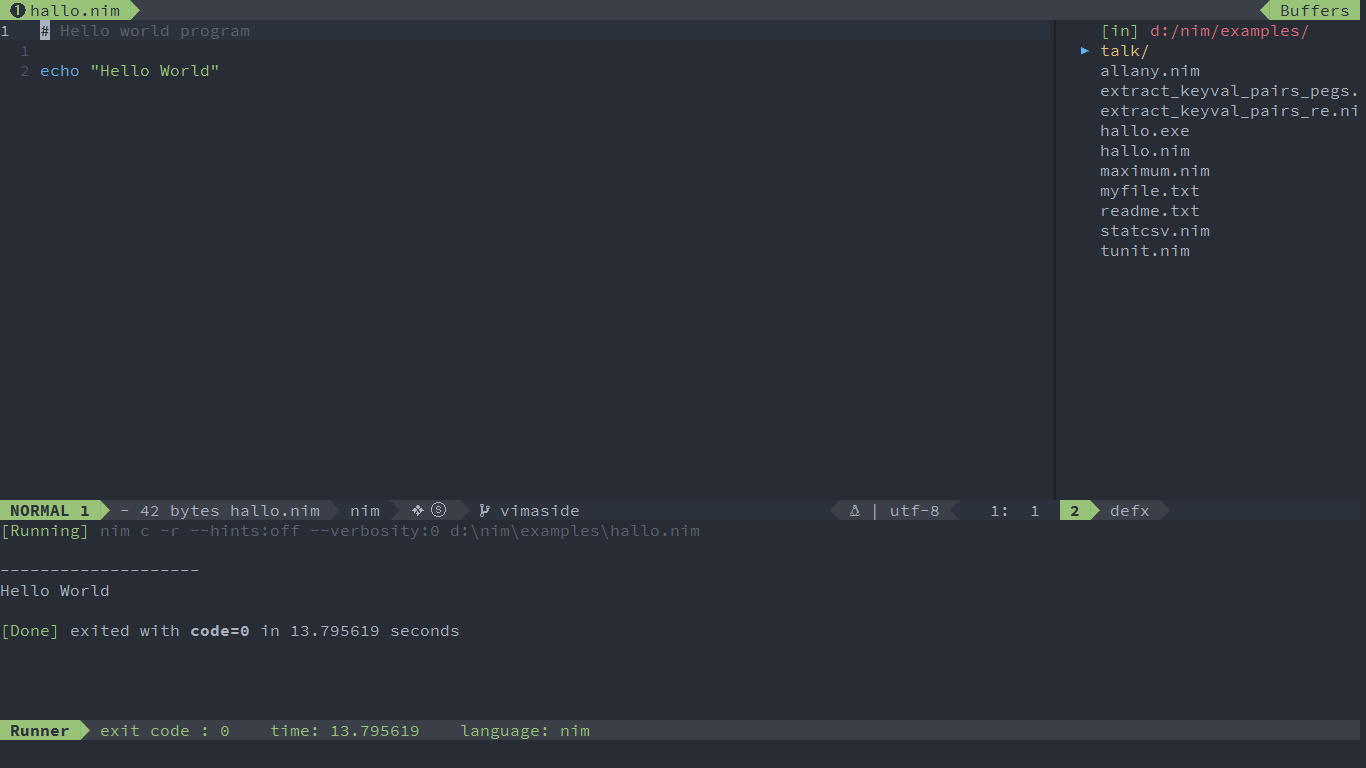
The key binding for running current file is `SPC l r `, it will run `nim c -r current_file` asynchronously.
|
|
And the stdout will be shown on a runner buffer.
|
|
|
|

|
|
|
|
|
|
### REPL support
|
|
|
|
The REPL support is based on [`inim`](https://github.com/inim-repl/INim), you can download `inim` via `nimble install inim`
|
|
|
|
Start a `inim` inferior REPL process with `SPC l s i`. After REPL process started,
|
|
you can send code to `inim` process via key bindings:
|
|
|
|
| Key Bindings | Descriptions |
|
|
| ------------ | ------------------------------------------------ |
|
|
| `SPC l s b` | send buffer and keep code buffer focused |
|
|
| `SPC l s l` | send line and keep code buffer focused |
|
|
| `SPC l s s` | send selection text and keep code buffer focused |
|
|
|
|
|
|
### code format
|
|
|
|
The code formation feature is provided by `format` layer, and this layer is enabled by default.
|
|
The default format engine is `neoformat`, it will run `nimpretty` asynchronously on current file.
|
|
|
|
### Tasks manage
|
|
|
|
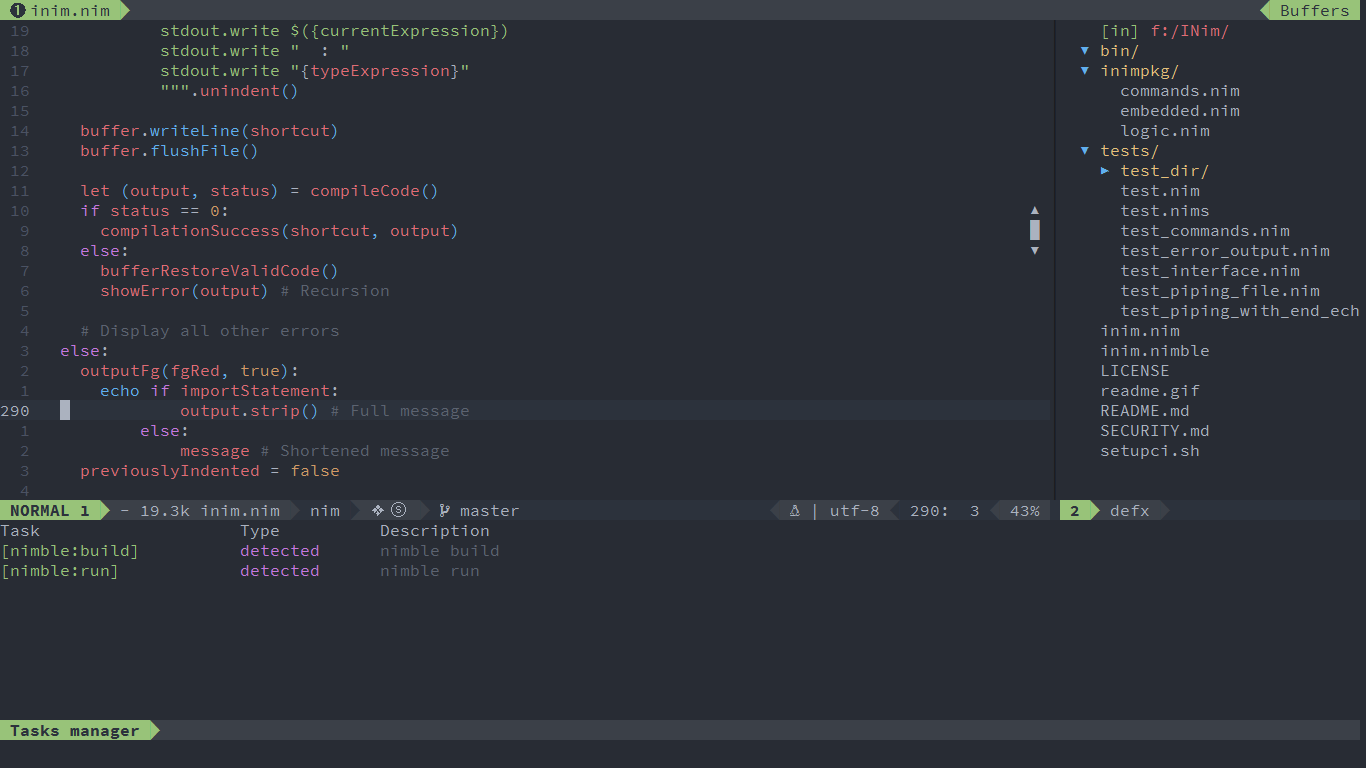
SpaceVim will detect `nimble` project tasks automatically. If there is `*.nimble` file in the root directory
|
|
of your project. The following nimble tesks will be detected automatically.
|
|
|
|

|
|
|
|
To select a tast to run, use key binding `SPC p t r`, you can also use `SPC p t l` to list all the tasks
|
|
in the tasks manager window.
|